

How To Open A Polaroid Camera
Introduction
This guide shows you how to completely detach your camera.
-
-
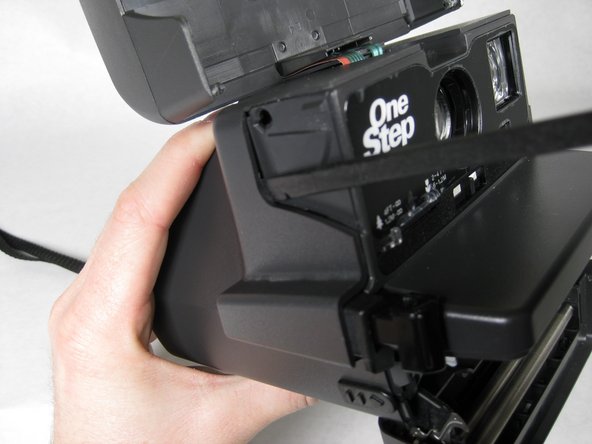
Open up the flash/lens compartment of the Polaroid camera to a xxx degree angle with the horizontal.
-
-
-
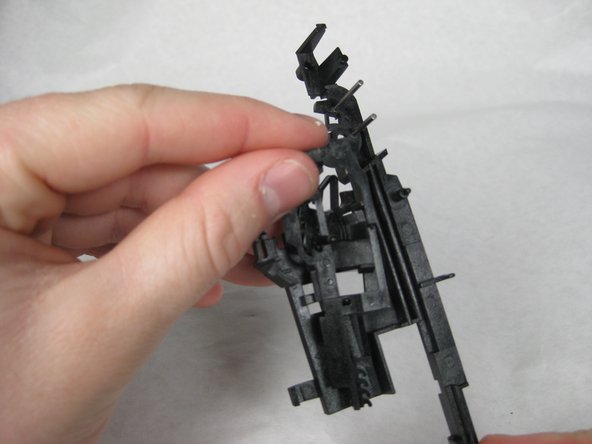
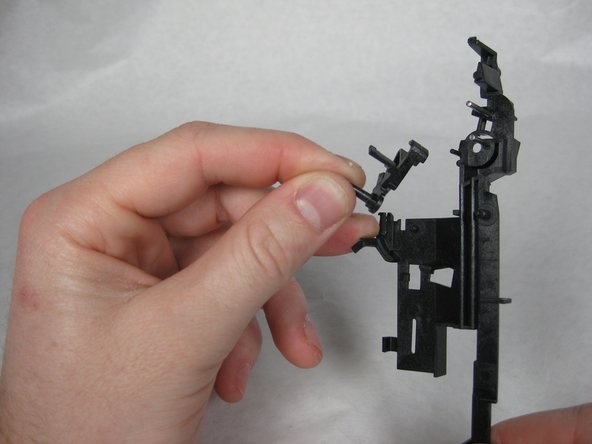
Divide the flash section of the camera from the main torso by unhooking the sides.
-
-
-
Open up the bombardment/ cartridge compartment fully.
-
-
-
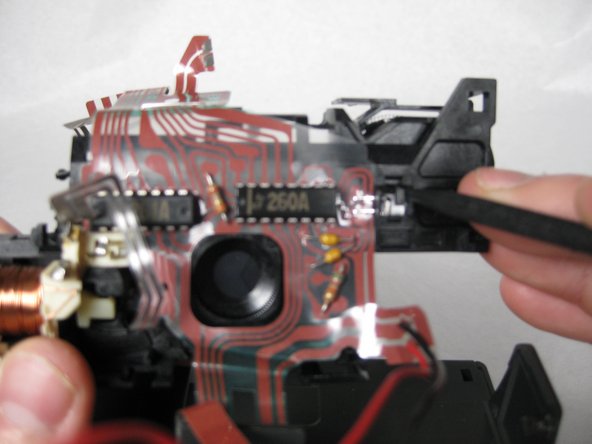
Insert spudger in between face of camera and sides where the iv tabs are located.
-
-
-
Once tabs are released, pull face of photographic camera straight out.
-
-
-
Remove the capture button if it did non popular out when you removed the face up.
-
-
-
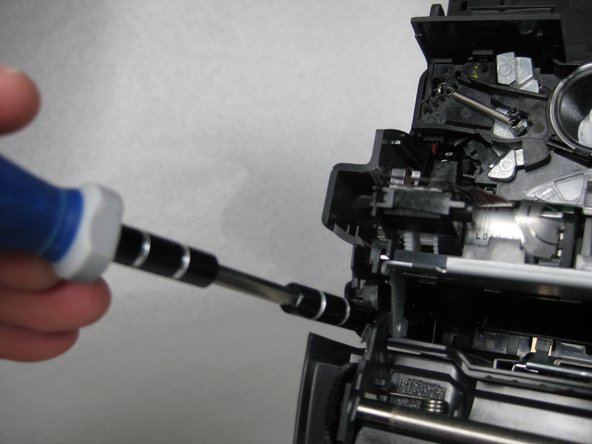
To remove the back of the camera, you have to find the tabs located nigh the hinges of the battery and pic compartment.
-
Using a spiral driver, pry the tabs of the outer case away from the metal frame.
-
Once the tabs are removed slide the metal frame frontward.
-
-
-
Remove the bombardment and film compartment latch
-
Pull the metal frame away from the instance.
-
-
-
Using a spudger, pop the battery and film cartridge hatch from its hinges.
-
The tabs are located at the bottom of the metal frame.
-
-
-
Remove the sight past lifting it straight up.
-
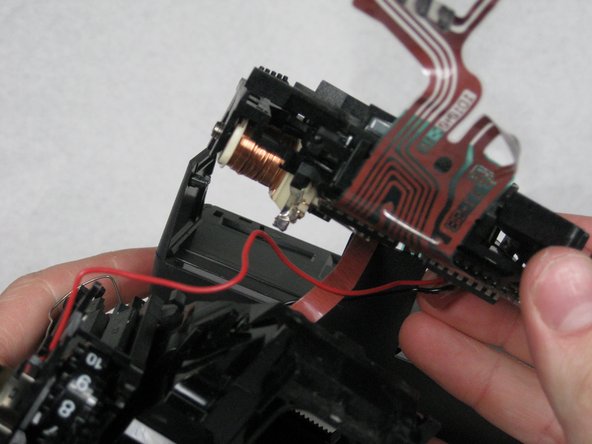
Follow the red wire from the flash compartment
-
Have the cherry-red wire off of the 2 hooks
-
Slide the uncovered wire end out of the small brass clip. Motility wire away from camera.
-
-
-
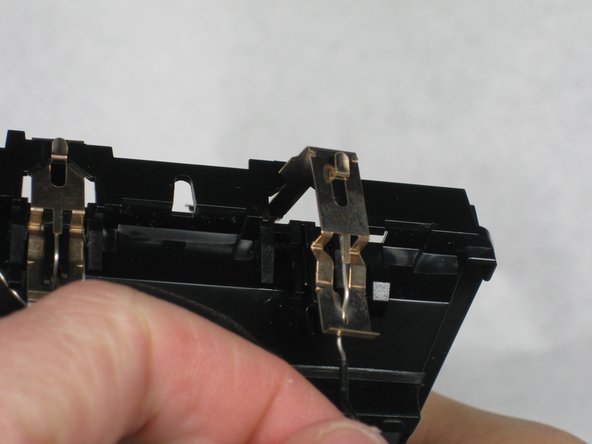
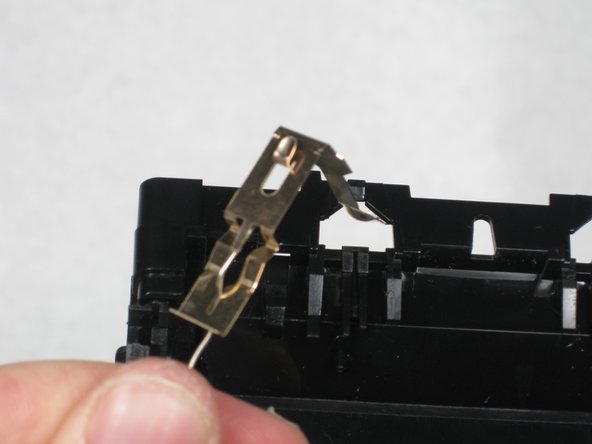
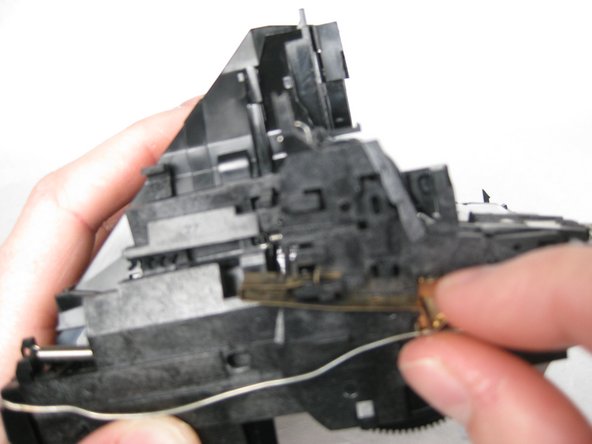
Follow the black wire from wink bulb to the back of the example.
-
When yous find the brass tab, pull information technology up. When the tab is complimentary, remove the tab from the blackness wire.
-
-
-
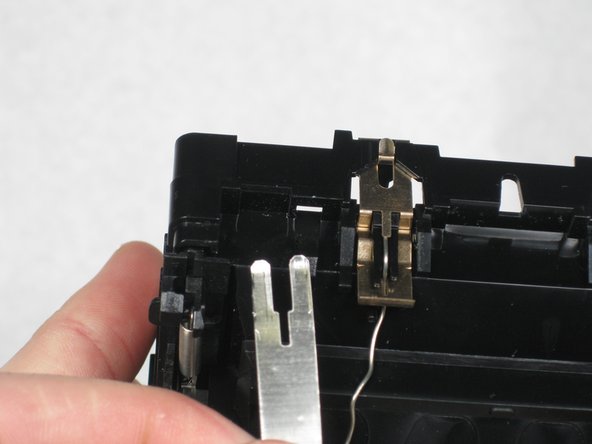
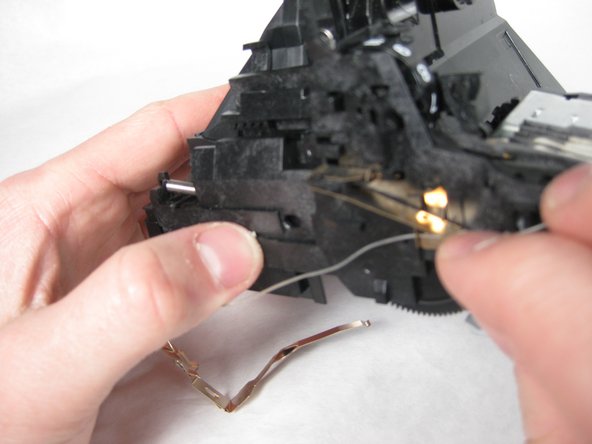
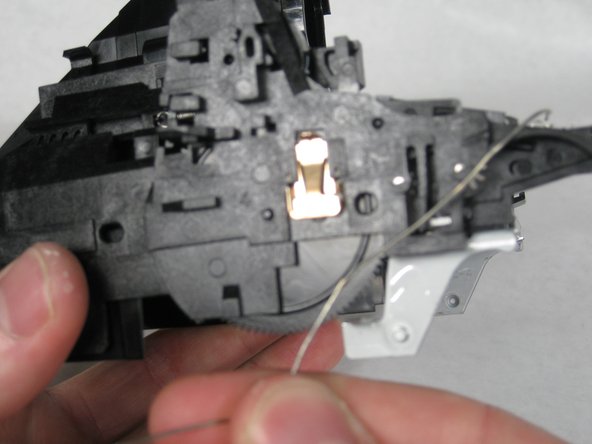
Follow the metal band from the wink compartment to the brass tab.
-
Unhook the wire on the left of the brass tab.
-
Remove the metal band from behind the brass clip.
-
Gear up the now detached flash compartment to the side.
-
Pull the brass tab up and out similar the first one and remove the uncovered wire.
-
-
-
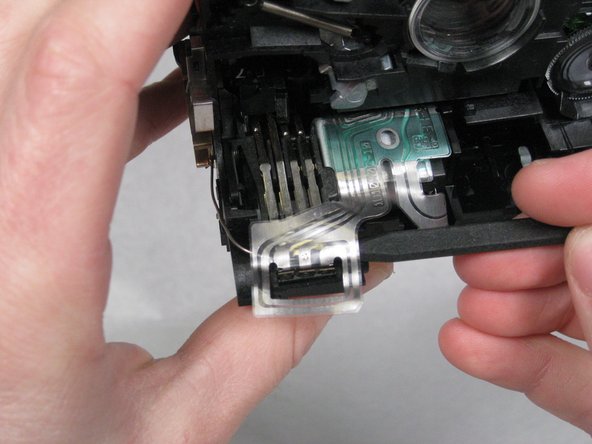
Slide the brightness adjuster to right and off the camera.
-
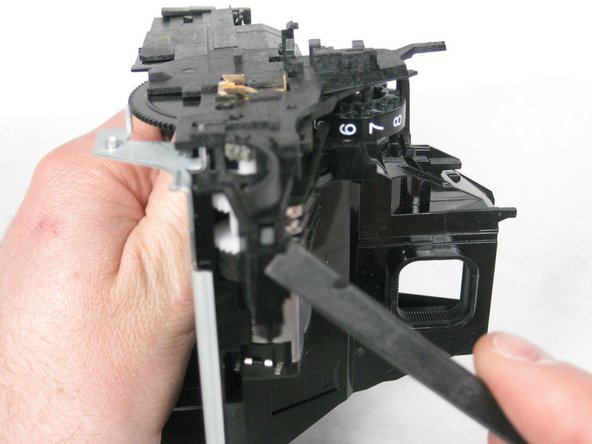
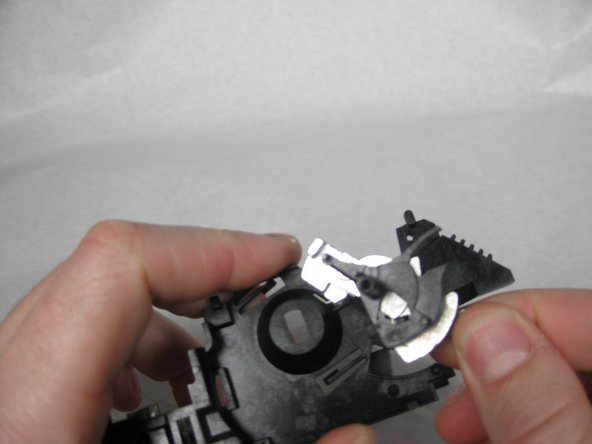
Use the pointed end of the spudger to lift a small latch located next to the bottom of lenz plate
-
Then find the small latch located below the plastic bridge that is over the shutter mechanism
-
-
-
Using the pointed finish of the spudger, pull the band wire out of the electrical motor.
-
In the same fashion as above, remove the ring wire from the plastic extension.
-
-
-
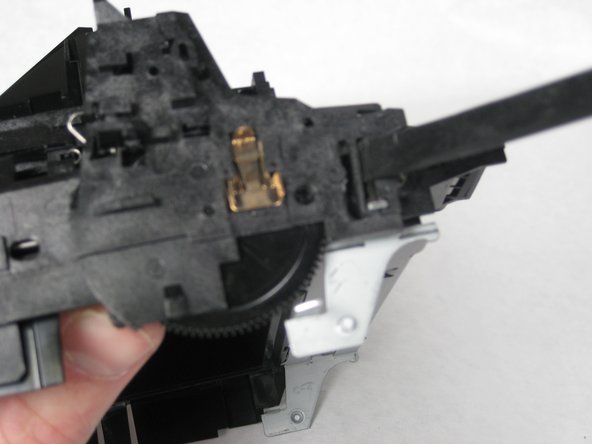
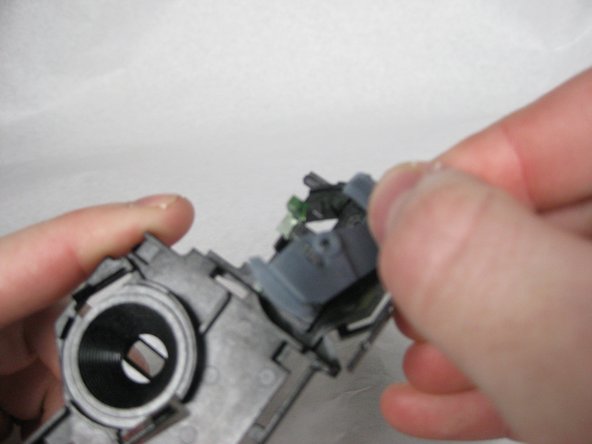
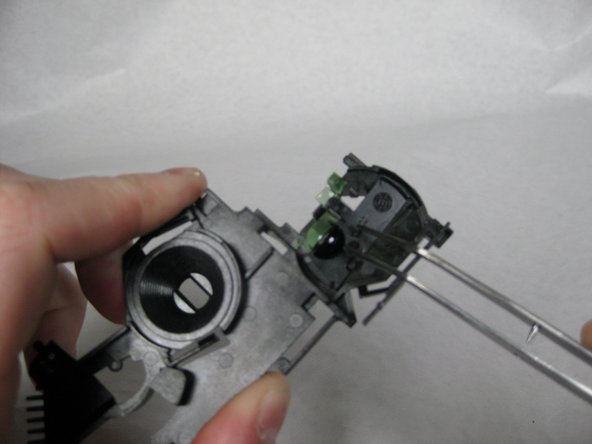
Rotate the lens plate up to unhook the plat from two tabs located at the summit of the plate.
-
Remove the lens plate, flash compartment and wires from the photographic camera.
-
-
-
Follow the uncovered wire around the side of the camera
-
Remove the metal spring tab adjacent to the counter
-
Remove the brass tab by lifting the superlative piece over the notch and sliding dorsum.
-
-
-
Locate the pocket-size contumely tab with the uncovered wire running through information technology.
-
Remove the wire by sliding under the hooks.
-
then unhook the uncovered wire from the the final latch located on the superlative of the plastic extension.
-
-
-
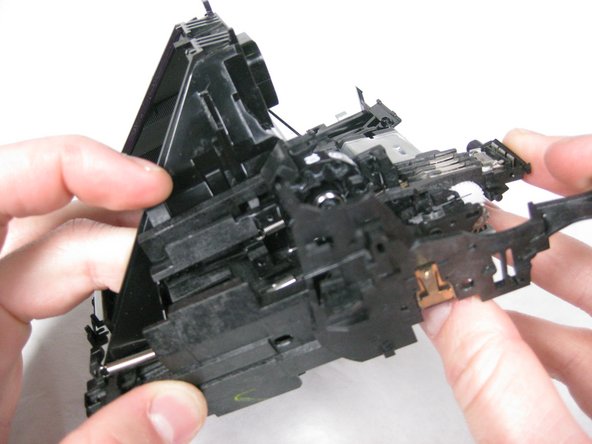
The cameras insides could now be in 2 major pieces.
-
The Pyramid and the lens plate
-
-
-
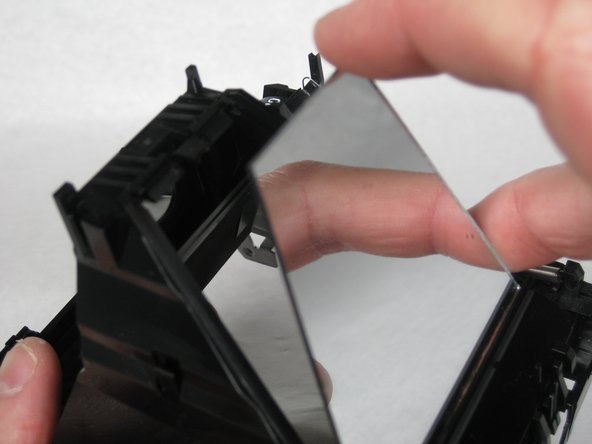
The top of the pyramid has cover that can be lifted off
-
Below is the mirror which is held in by a tab.
-
Lift the tab with the spudger and pop out the mirror.
-
-
-
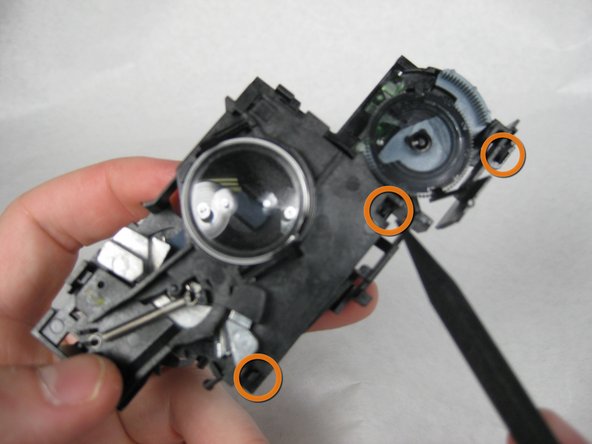
There are 4 tabs total that must be removed for the adjacent pace
-
The offset is direct under the spring mounted at the back left of the camera
-
The side by side is located on the front end of the plastic extension
-
The third tab is used to connect the metal frame to the outer plastic
-
-
-
The final tab is located below the backside of the photo-counter dial.
-
In one case all four tabs are removed the plate pulls out from the slot in the rear.
-
-
-
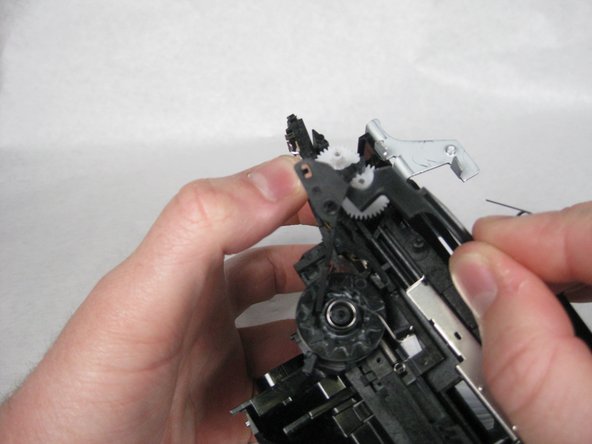
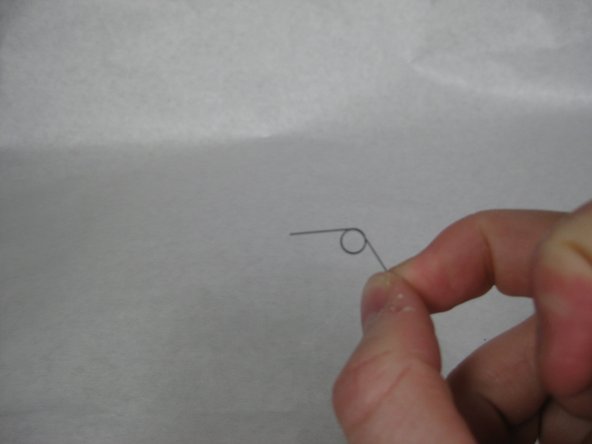
Lift the large gear abroad from its pin
-
Advisedly lift the "Y" shaped plastic slice from its pin and pull the bound from the pin every bit it is removed.
-
-
-
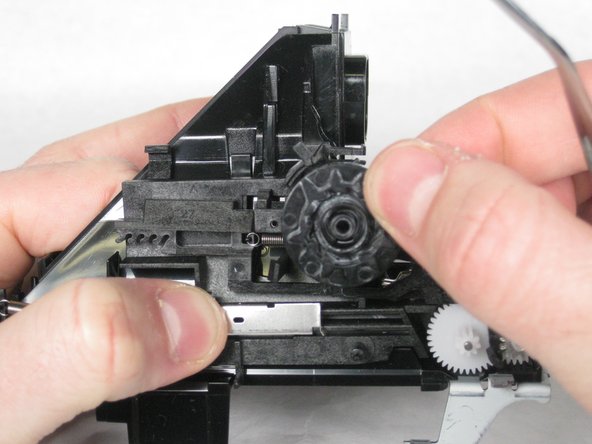
Remove the Spring attached to the photograph-counter dial.
-
Lift the photo-counter Dial off of its pivot.
-
-
-
Remove the jump attached to the motion-picture show squirt metal slide.
-
Remove the film squirt metal slide
-
-
-
Remove the plastic extension by pulling it from the slot in the rear of the camera.
-
-
-
Remove the metal gear from the gear set.
-
Pull the "50" shaped black plastic piece off of its pin.
-
-
-
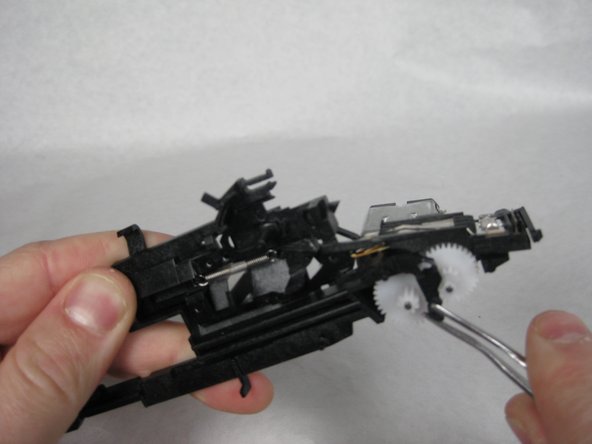
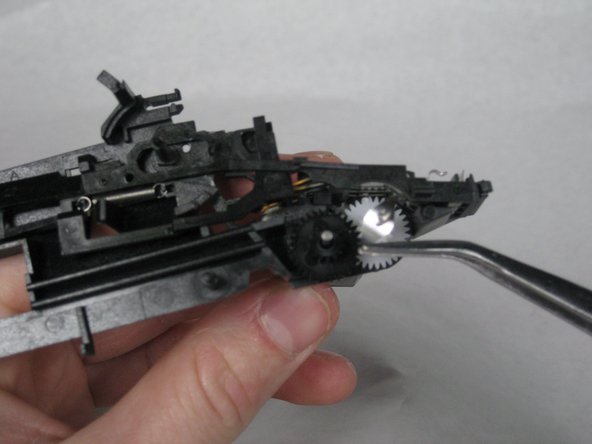
There are iv gears to remove.
-
The gear on the left goes first, followed by the the right.
-
The correct gear has a small leaf bound between it and the gear below it.
-
Then remove the black gear then the last white gear.
-
-
-
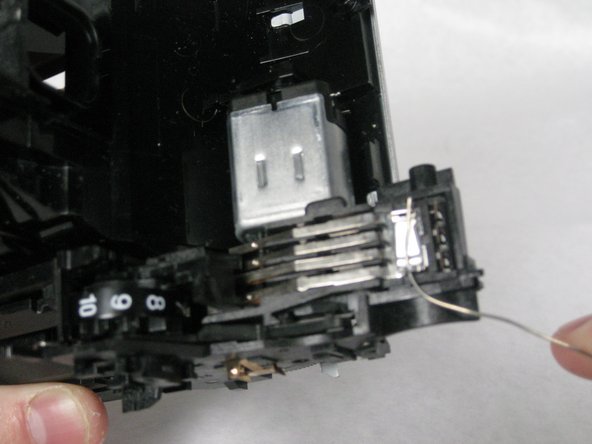
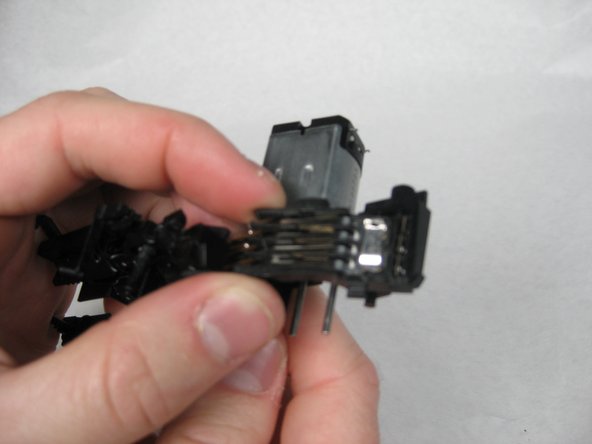
Using the pointed end of the spudger, printing the clip that is below all the gears next to the electric motor gear.
-
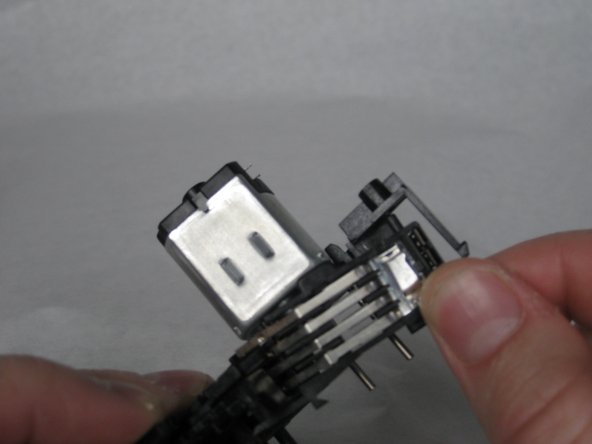
Lift the plastic box containing several long metallic tabs
-
So slide the box out.
-
-
-
Pull the electrical motor straight out of the plastic piece.
-
-
-
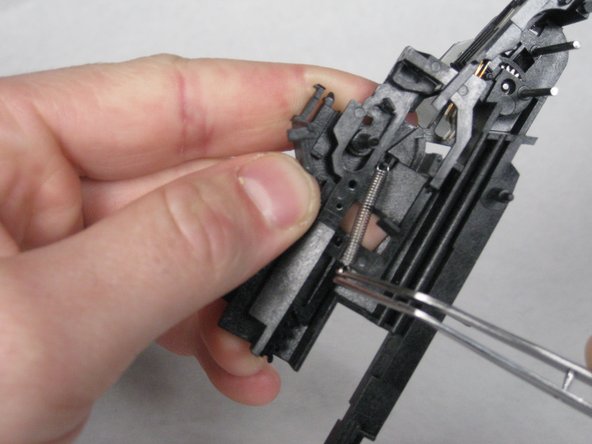
Remove the bound located in the middle of the plastic mechanism.
-
Remove the 2 loose plastic pieces.
-
-
-
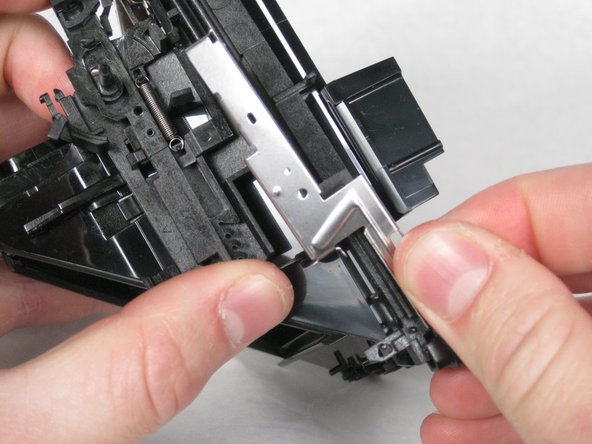
To remove the metal frame, printing the ii tabs with the spudger and slide it forward.
-
-
-
With the bespeak of the spudger, remove the band wire from the solenoid.
-
Remove the small-scale LED from its clip, and so lift the flat wire array and the flash compartment away from the dorsum of the lens plate.
-
-
-
Remove the solenoid from the dorsum of the lens plate by removing the 2 tabs.
-
-
-
Remove the lens by pressing the tab.
-
Remove the back of the lens plate by unhooking the three clips that concord it together.
-
-
-
Remove the spring on the plastic bridge that attaches to the shutter mechanism
-
Remove the Shutter mechanism from the back of the lens plate.
-
-
-
Remove the Clear dial past unhooking the tab at the lesser of the punch
-
Elevator the light blueish slice out of the mechanism.
-
Elevator the black piece out of the plastic plate.
-
-
-
Remove the clear green prism from the plastic plate.
-
-
-
The disassembled camera.
-


Embed this guide
Choose a size and re-create the code beneath to embed this guide as a pocket-sized widget on your site / forum.
Preview
Source: https://www.ifixit.com/Teardown/Polaroid+One-Step+600+Teardown/2151
Posted by: hennesseybecomeavoing.blogspot.com
0 Response to "How To Open A Polaroid Camera"
Post a Comment